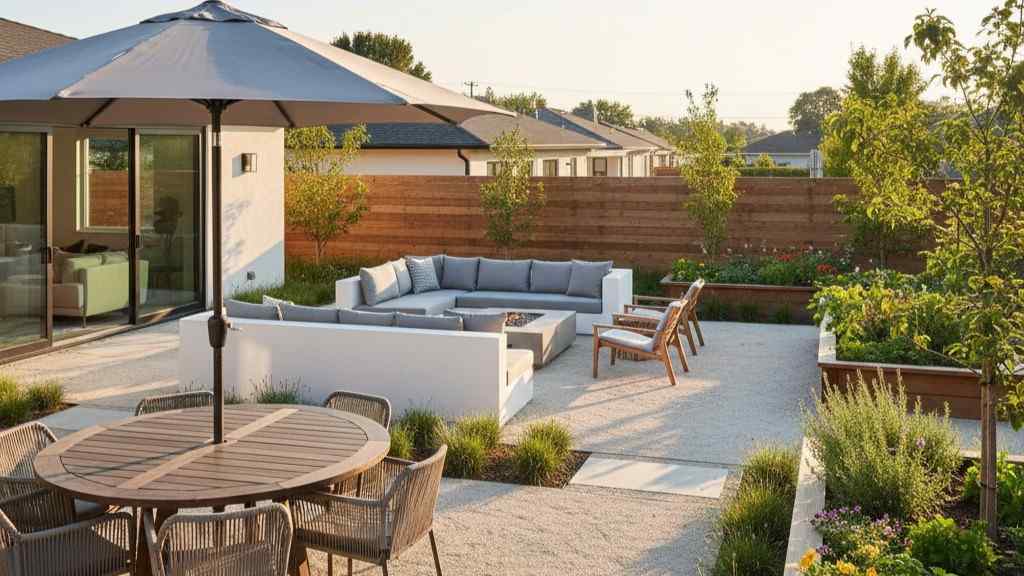
Pickleball combines the best elements of tennis, badminton, and ping pong into one highly engaging game. The sport continues to grow rapidly across the country. This massive surge in popularity makes public facilities incredibly crowded during peak hours. You can easily skip the long wait times by bringing the game directly to your own property.
Building a private play area requires careful planning, proper materials, and clear execution. This guide walks you through the entire process of transforming your outdoor space into a professional-grade playing surface.
Evaluating Your Available Space
Before breaking ground, you must determine if your property can comfortably accommodate a standard play area.
Standard Court Dimensions
A regulation-sized play area measures 20 feet wide by 44 feet long. However, you need extra room around the perimeter for safe movement. The recommended total footprint spans 30 feet wide by 60 feet long. This extra padding prevents players from running into walls or fences during intense rallies. Measure your yard carefully and mark the proposed boundaries with marking paint to visualize the final footprint.
Orientation and Sun Exposure
Proper alignment makes a massive difference during daytime matches. Position the length of the play area running north to south. This orientation keeps the rising and setting sun out of the players’ eyes. Ignoring this crucial step will result in one side having a severe visual disadvantage during morning or evening games.
Preparing the Ground and Foundation
The base dictates the longevity and structural integrity of your new recreational surface.
Clearing and Leveling the Site
Start by removing all grass, rocks, and debris from the marked area. You must excavate the dirt to create a perfectly flat base. Even a slight slope will cause water to pool after heavy rain. Use a transit level to ensure absolute precision. Proper drainage is essential. Grade the surrounding soil slightly away from the play zone to direct water runoff away from the concrete.
If you’re also planning home upgrades, this backyard project offers a perfect way to enhance both your property value and quality of life.
Pouring the Base Material
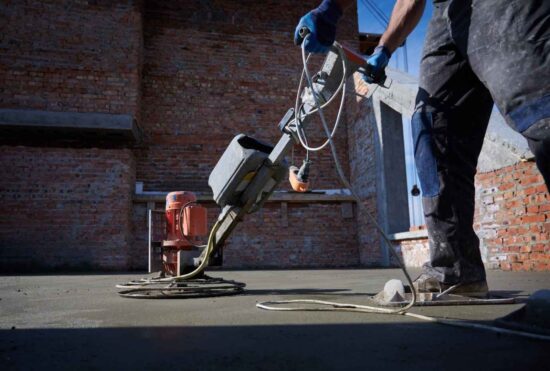
Most permanent setups use concrete or asphalt for the foundation. Concrete offers incredible durability and requires very little maintenance over time. Asphalt provides a slightly softer feel underfoot but may need resealing every few years. Climate plays a huge role in material selection.
For example, anyone constructing a backyard pickleball court in Utah must account for harsh winter freezes and ensure the base is thick enough to prevent cracking. Pour a base that is at least four inches thick and reinforce it with steel rebar for maximum stability.
Surface Finishing and Line Painting
A bare concrete slab does not provide the right grip for quick lateral movements. You must finish the surface properly.
Applying the Acrylic Coating
You need a specialized acrylic coating system to seal the concrete and create a textured surface. This layered setup usually involves an acrylic primer, a resurfacer coat to hide small imperfections, and two coats of colored paint mixed with silica sand. The sand provides essential traction to prevent slips and falls. Choose high contrast colors to make the boundaries clearly visible.
Taping and Painting the Lines
Precision is vital when painting the boundary lines. Use professional-grade masking tape to outline the 20 by 44 foot play area. The non-volley zone extends seven feet from the center net on both sides. Paint all lines exactly two inches wide using bright white acrylic paint. Remove the tape carefully while the paint is still slightly wet to ensure crisp, clean edges.
Installing the Net and Final Tozuches
The final phase turns your newly painted slab into a fully functional sports venue.
Setting the Net Posts
A regulation net sits exactly 36 inches high at the sidelines and 34 inches high in the center. You can choose between permanent posts set into the concrete or a heavy duty portable system. Permanent posts offer superior tension and wind resistance. If you choose permanent posts, you must set the metal sleeves into the concrete base during the initial pouring phase.
Adding Fencing and Lighting
Chasing stray balls ruins the momentum of a good match. Install a fence around the perimeter to keep the action contained. A chain link fence measuring ten feet high works perfectly. If you plan to play after dark, consider installing overhead LED lighting. Position the light poles outside the fence line to eliminate dangerous accident hazards. Aim for uniform light distribution to prevent dark spots and harsh shadows.
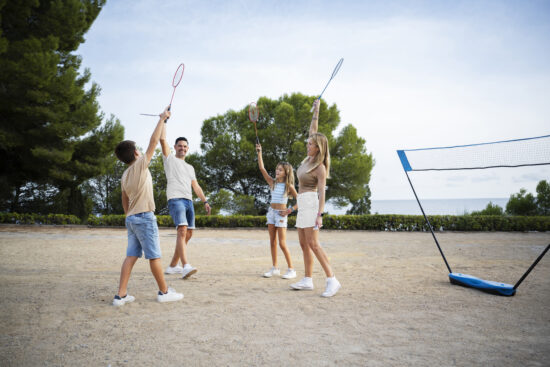
Completing this project takes time, physical effort, and financial investment. The final result provides years of entertainment and physical activity right outside your door. Follow these steps carefully to ensure your new play space looks great and withstands heavy use for decades to come.